What Happens During Professional Mold Inspection in Poughkeepsie
Protect Your Hudson Valley Home From Hidden Mold
Mold in a home is not just ugly spots on the wall. In the Hudson Valley, it often points to deeper moisture problems that can quietly damage your house over time. With older housing, river humidity, and big temperature swings, Poughkeepsie homes are at higher risk than many people think.
A professional mold inspection in Poughkeepsie, NY, is the first smart step toward fixing those problems the right way. When you know where the moisture is getting in and how far the mold has spread, you can make clear, confident choices about what to do next.
Here, we walk through what actually happens during a professional mold inspection. You will know how to get ready, what the inspector does, what the testing means, and how those findings help protect your family and your property value.
Why Mold Is Such a Problem in Poughkeepsie Homes
Living near the Hudson River has many perks, but it also means more moisture in the air. Add rainy springs, humid summers, and melting snow, and you get perfect conditions for mold growth in local homes.
Common trouble spots in our area include:
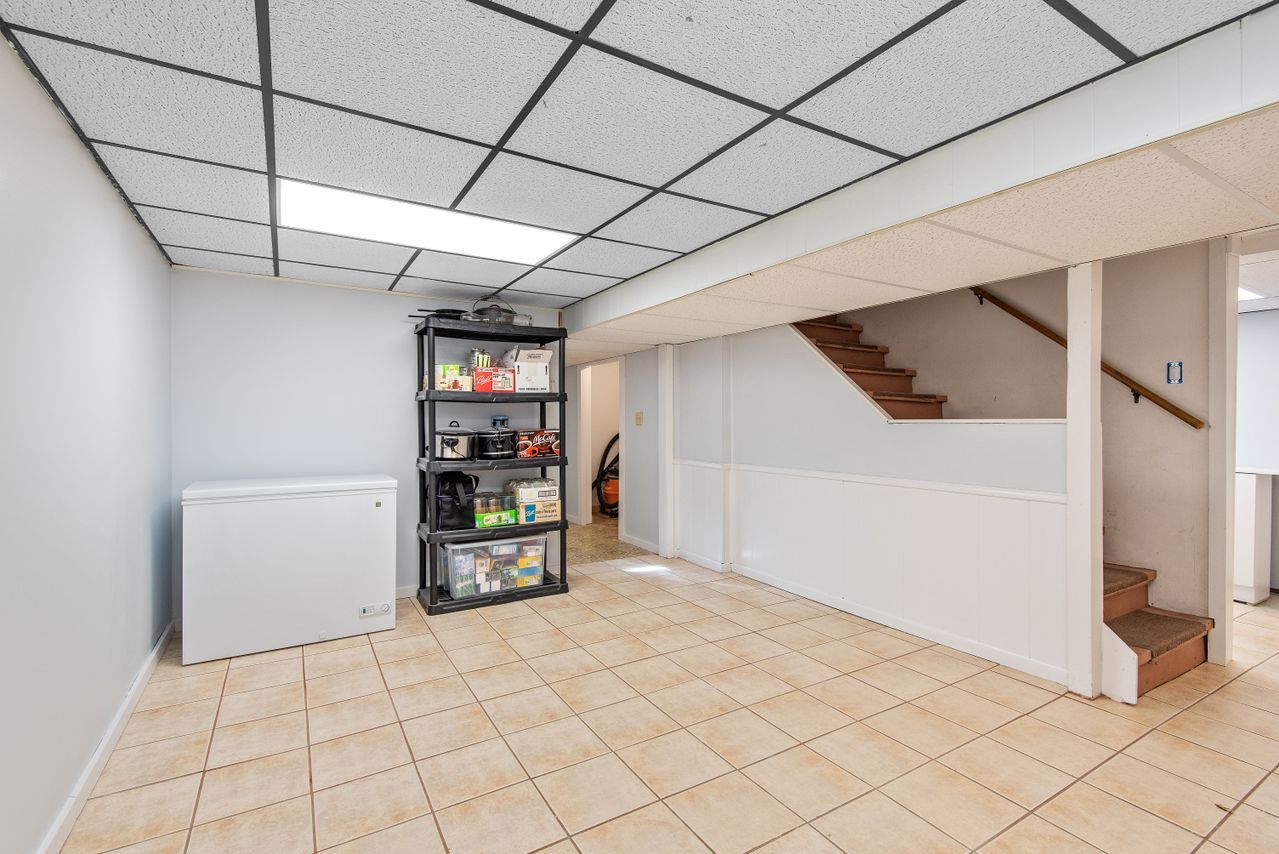
- Damp basements and crawl spaces
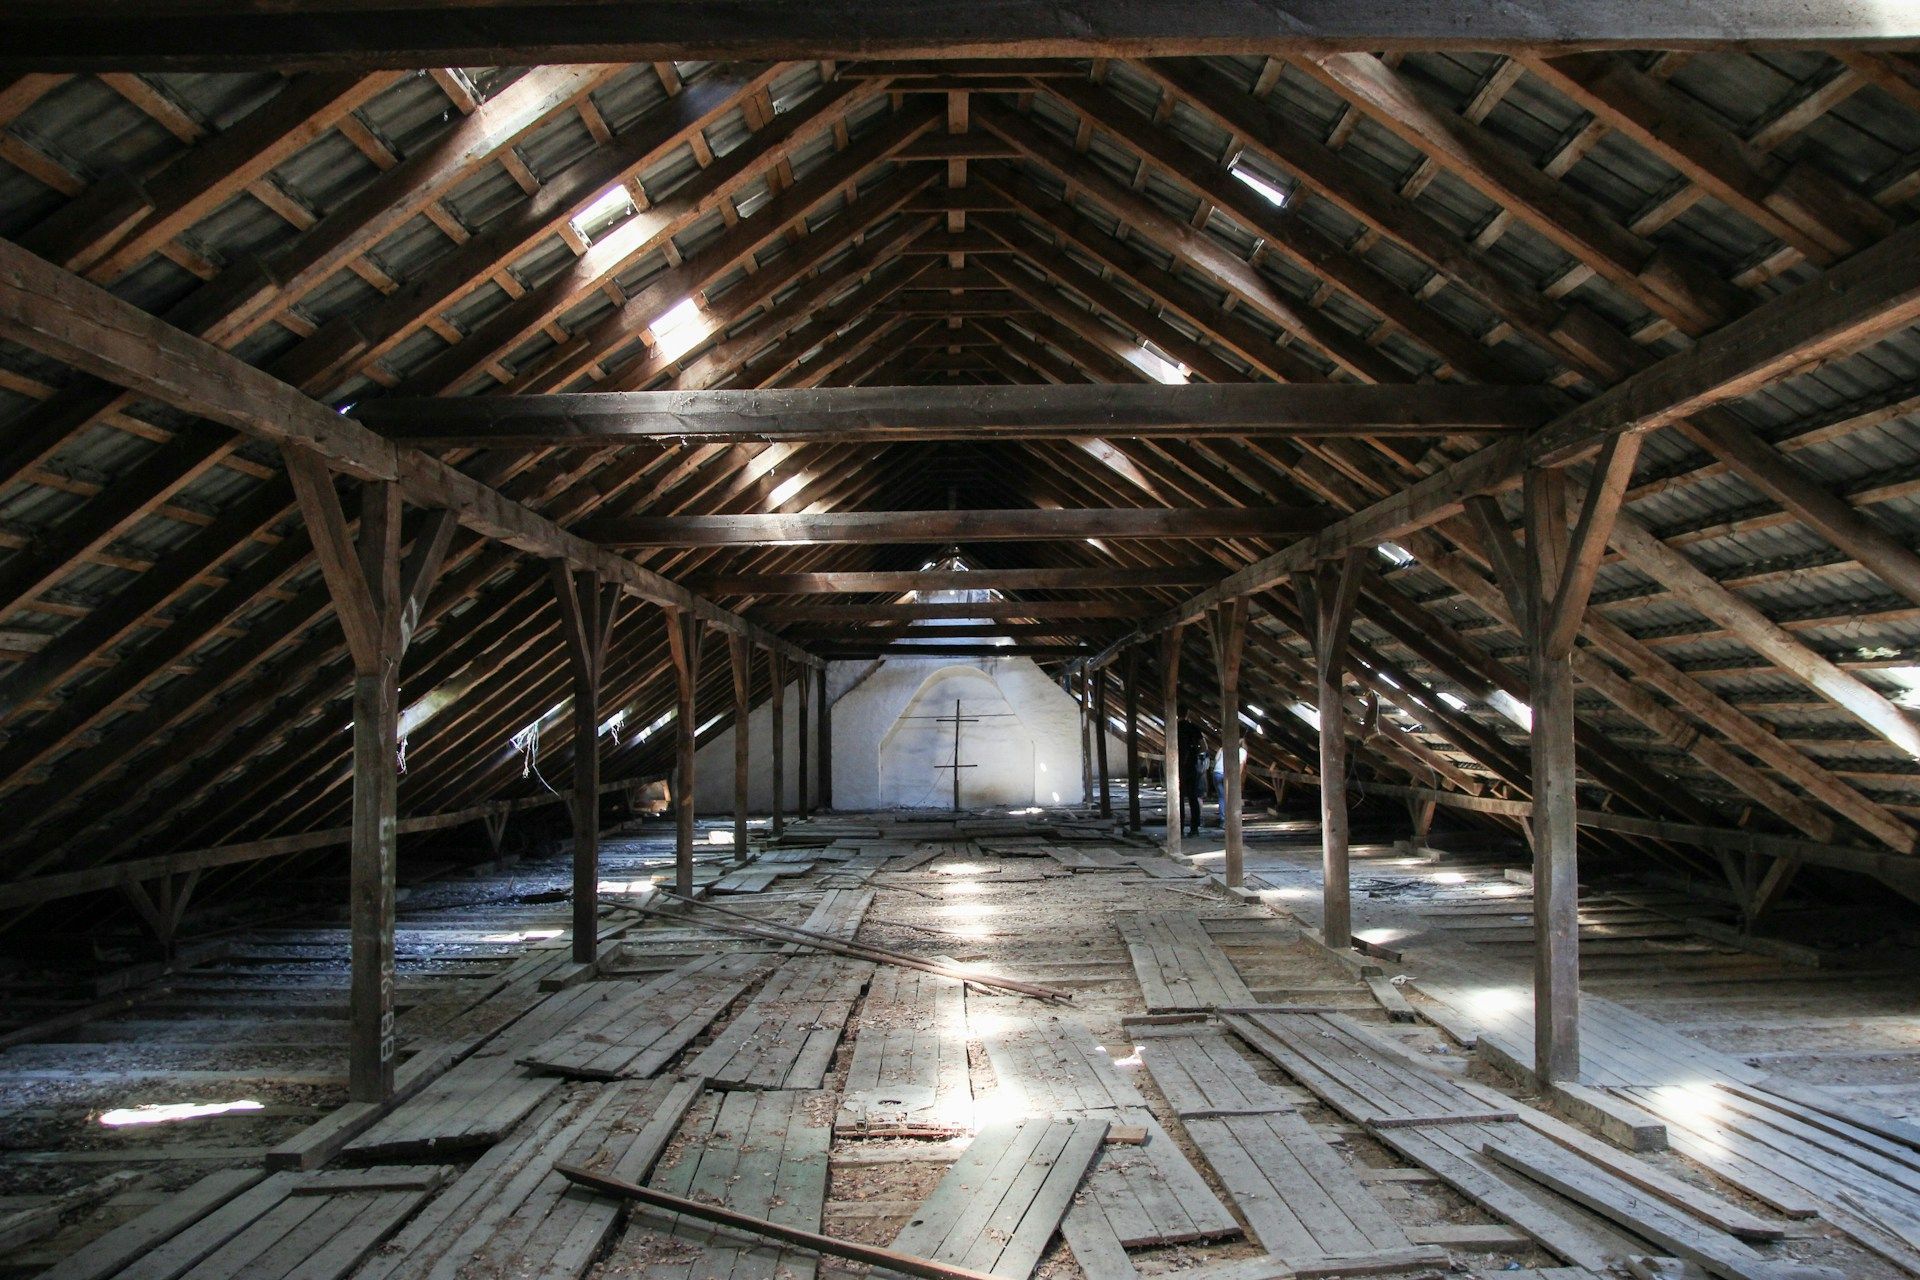
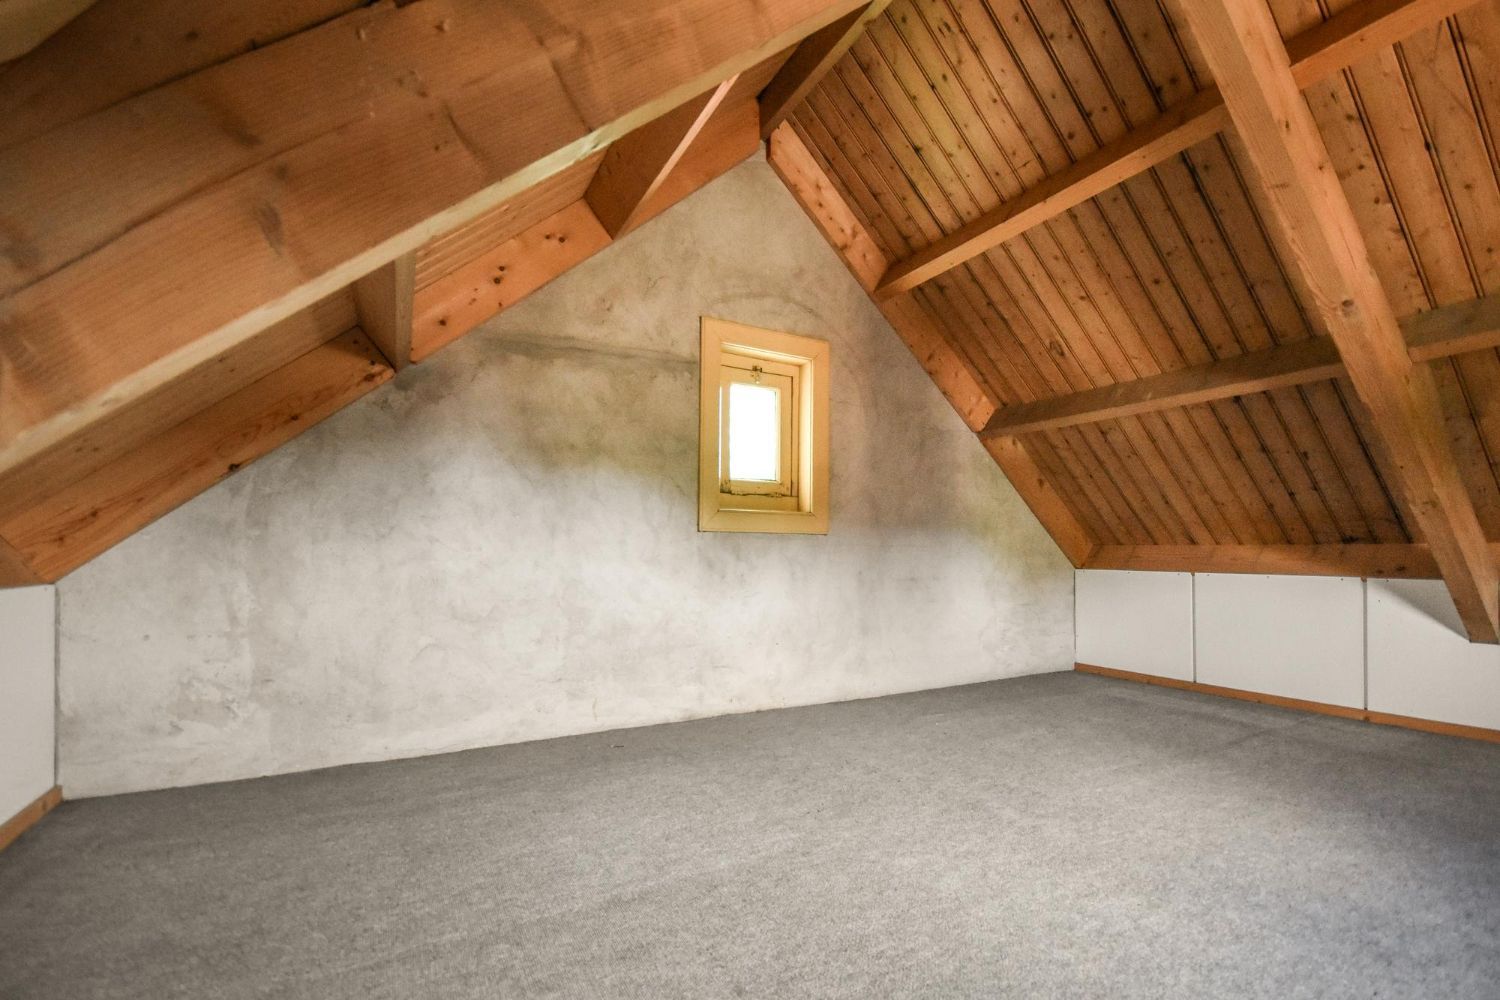
- Attics with poor ventilation or roof leaks
- Older plaster or drywall that has seen past leaks
- Areas under sinks, behind appliances, and near pipes
- Homes that have had flooding or water damage before
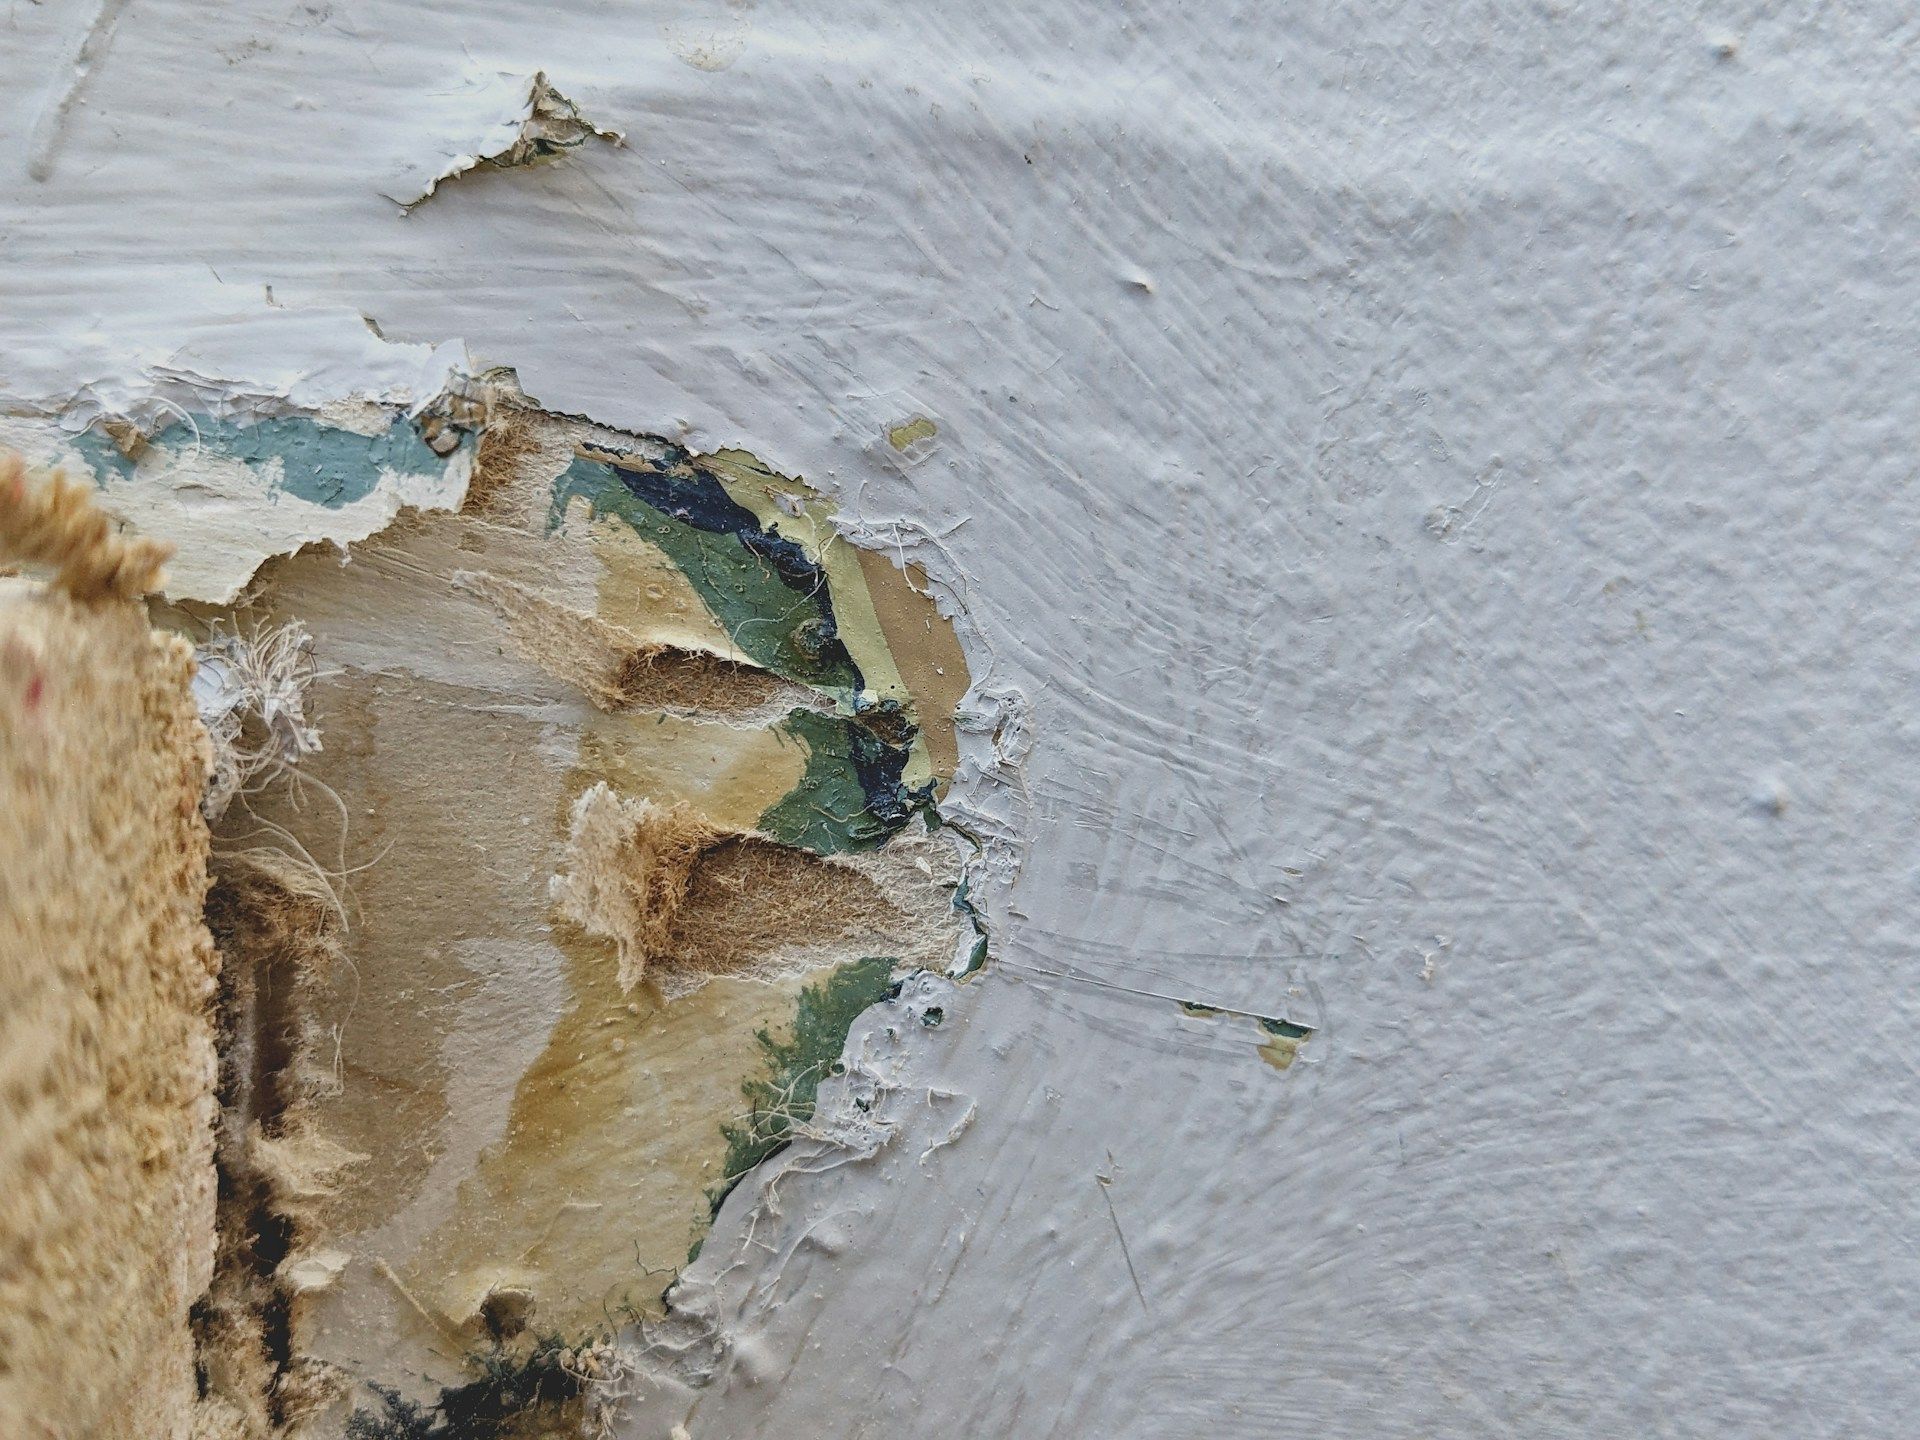
These spaces often stay damp longer than you might notice. Even if surfaces look dry, moisture can linger inside walls, behind baseboards, or under flooring. Mold does not need a lot of water. A slow drip, minor roof issue, or condensation around windows can be enough.
DIY checks usually only catch what you can see and smell. That might mean:
- Missing hidden mold behind walls or ceilings
- Overlooking moisture in subfloors or insulation
- Ignoring small clues in the attic, basement, or exterior
A trained local restoration company understands how Hudson Valley homes are built and where problems tend to hide. That local experience matters when you are trying to track down the actual source, not just wipe away the symptoms.
How to Prepare for a Professional Mold Inspection
You do not need to do much to get ready, but a little prep can make the inspection smoother and more complete.
Before the visit, try to:
- Clear access to your basement, attic, and crawl space if you have one
- Move items away from under-sink cabinets and utility sinks
- Open up areas around any visible mold or past water stains
- Make sure the inspector can reach the HVAC unit and water heater
It also helps to gather a simple history of your home’s moisture issues, such as:
- Past leaks from roofs, windows, or plumbing
- Any previous water damage or flooding
- Spots where you notice musty odors
- Photos or notes about stains that come and go
Most mold inspections take about 60 to 120 minutes, depending on the size of the home and how many problem areas there are. It is best if an adult is home to walk with the inspector and answer questions. Pets and young children should be kept away from areas being inspected for safety and to avoid distraction.
Step-by-Step Walk-Through of a Mold Inspection Visit
A good mold inspection starts with a simple conversation. The inspector will ask about what you have noticed, such as smells, stains, recent leaks, or health complaints that seem worse in certain rooms. They may also ask about the age of the home and any repairs that have been done.
Next comes a careful visual inspection. The inspector will typically:
- Check walls, ceilings, and baseboards for stains, bubbling, or warping
- Look around windows and doors for signs of leaks or condensation
- Examine kitchens, bathrooms, laundry rooms, and utility areas
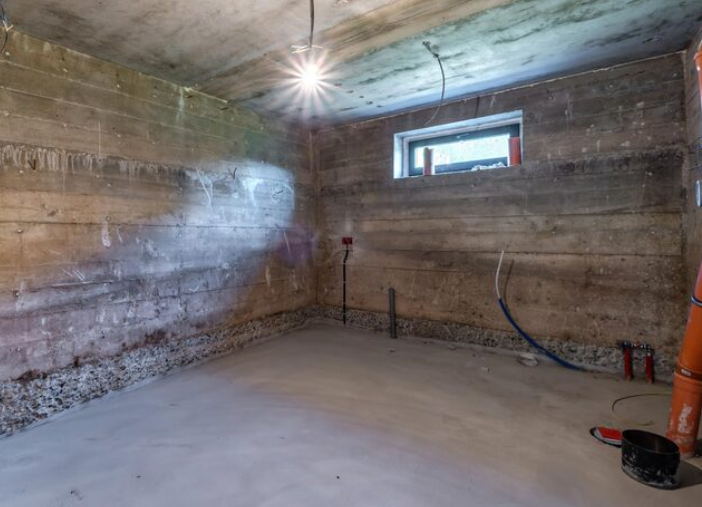
- Review the basement, crawl space, and attic for moisture or mold
- Step outside to look at gutters, grading, and drainage patterns
They are not only looking for obvious mold spots. Small cracks, peeling paint, rust on metal parts, and even slight discoloration can point to hidden moisture.
To see what eyes alone cannot, inspectors often use tools, such as:
- Moisture meters to measure moisture inside building materials
- Thermal imaging cameras to find cool, damp areas behind surfaces
- Borescopes, small cameras that can look inside tight or hidden spaces
- Hygrometers to check indoor humidity levels
These tools help find mold-friendly conditions behind walls, under floors, or in insulation, even when surfaces look fine.
Testing, Sampling, and What the Results Really Mean
Not every inspection needs lab testing. Sometimes the source is clear, and the mold is visible and easy to identify. In other cases, the inspector may suggest air or surface sampling.
Testing is more likely when:
- You suspect mold but nothing obvious is visible
- There are musty odors without clear cause
- Someone in the home has health concerns linked to mold
- You need documentation for a real-estate sale or insurance claim
Common sample types include:
- Air cassettes that collect airborne spores inside and outside
- Tape lifts pressed lightly against surfaces
- Swab samples taken from suspect spots
- Bulk material samples from pieces of building materials
These samples go to a lab, where they are checked to see what types of mold are present and at what levels. The numbers on a report only make sense when viewed in context. A good inspector will:
- Compare indoor air results to outdoor “normal” levels
- Match lab findings to what they saw during the visual inspection
- Consider the history of leaks, humidity, and building materials
- Explain results in simple language without scare tactics
The goal is not to panic you about every spore. Mold spores are part of normal life. The goal is to find out if your home has problem areas that need cleaning, removal, or better moisture control.
From Findings to Action Plan with Regional Mold
Once the inspection is complete, you should receive a clear summary of what was found. This usually covers:
- Where moisture is entering or building up
- Which rooms or materials show mold growth or damage
- Areas that are at high risk if nothing changes
- Suggested steps to reduce moisture going forward
At Regional Mold, we use these findings to build a plan that fits your home. That plan may include:
- Setting up containment so spores do not spread during work
- Using air filtration to clean the air in affected areas
- Safely removing mold-damaged materials
- Cleaning and treating surfaces that can be saved
- Addressing moisture sources so the mold is less likely to return
Having a written, documented plan can help with insurance questions, real estate inspections, and long-term home maintenance. It gives you a clear record of what was found, what was done, and how the risk was reduced.
Schedule a Professional Mold Check Before Summer Humidity
Spring in the Hudson Valley is when snowmelt, heavy rain, and rising humidity all start to stack up. That mix often brings hidden leaks and dampness to the surface, especially in basements, crawl spaces, and attics.
If you notice musty odors, see new stains, or know your home has had leaks or water damage, this is a smart time to get a professional mold inspection in Poughkeepsie, NY. Catching problems now can help avoid bigger repairs, more damage, and more stress during the sticky summer months.
Protect Your Home And Health With Expert Mold Solutions
If you are concerned about hidden moisture or suspicious spots in your home, schedule a professional
mold inspection in Poughkeepsie, NY with Regional Mold so we can pinpoint the problem quickly. We will assess your property, explain our findings in clear terms, and recommend the most effective next steps. To discuss your situation or request an appointment, simply
contact us today.